Fazer backup e mover o Weblate
Backup automatizado pelo BorgBackup
Novo na versão 3.9.
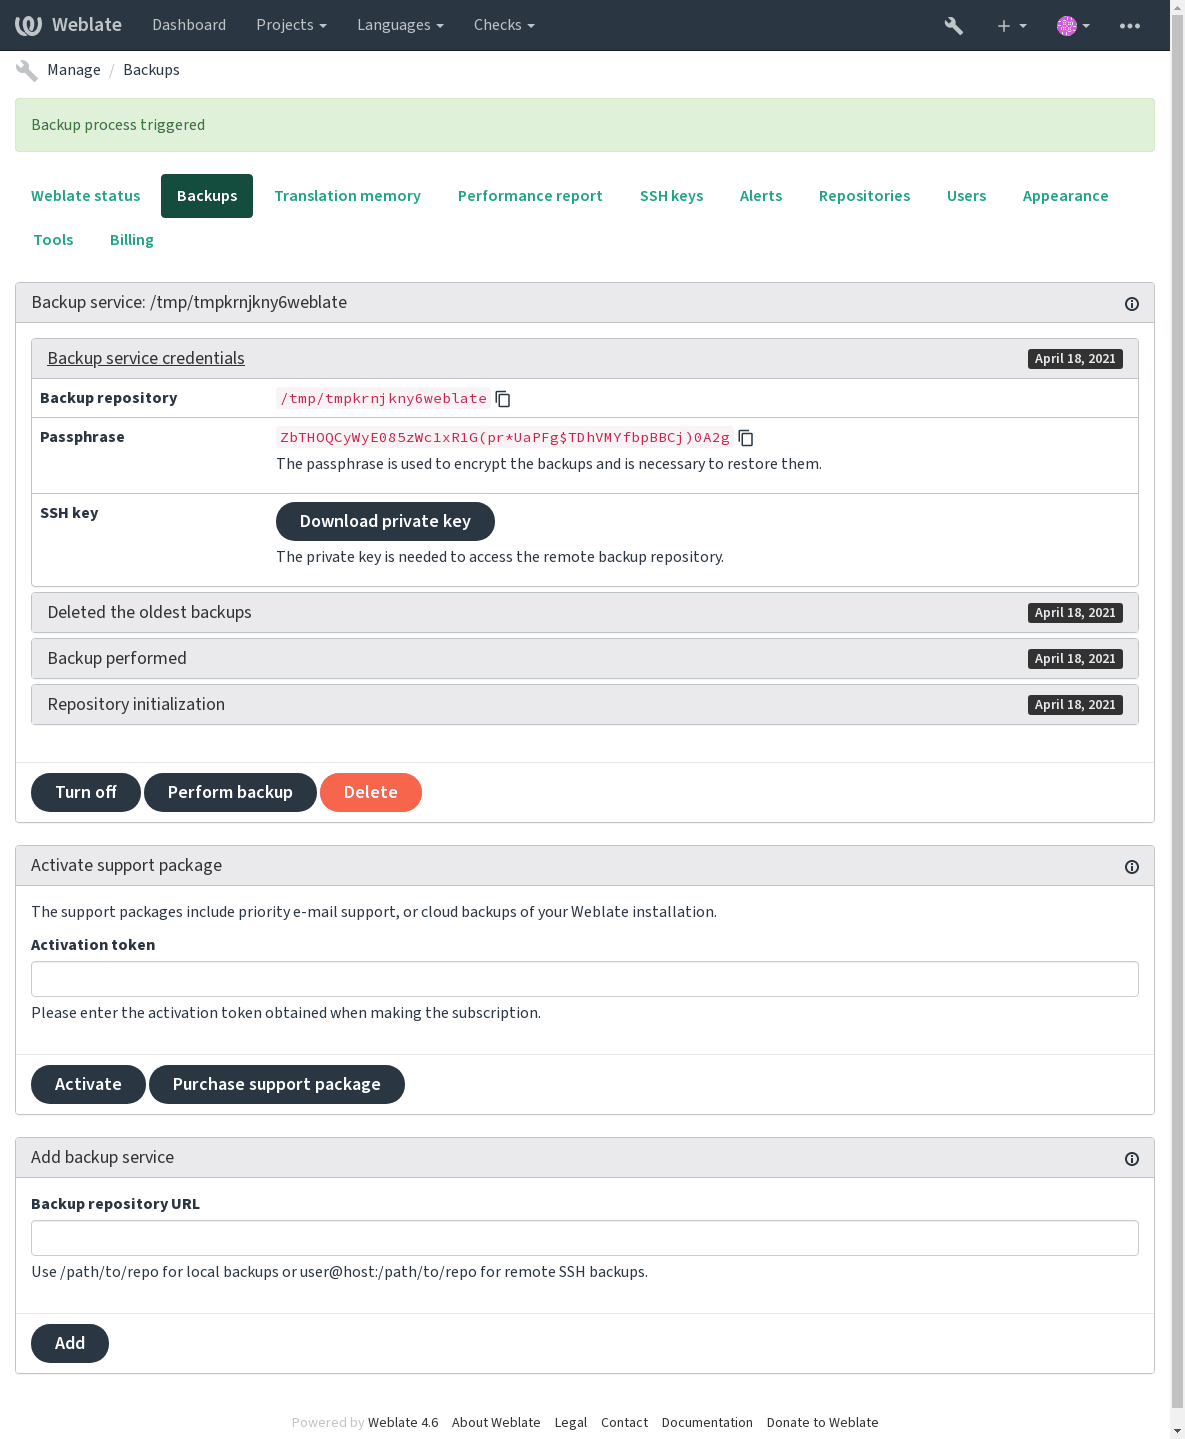
Weblate has built-in support for creating service backups using BorgBackup. Borg creates space-effective encrypted backups which can be safely stored in the cloud. The backups can be controlled in the management interface from the Backups tab.
Alterado na versão 4.4.1: Both PostgreSQL and MySQL/MariaDB databases are included in the automated backups.
Os backups que usam o Borg são incrementais e o Weblate é configurado para manter os seguintes backups:
Daily backups for 14 days back
Weekly backups for 8 weeks back
Monthly backups for 6 months back
Chave de criptografia do Borg
BorgBackup creates encrypted backups and you wouldn’t be able to restore them without the passphrase. The passphrase is generated when adding a new backup service and you should copy it and keep it in a secure place.
If you are using Armazenamento de backup provisionado do Weblate, please backup your private SSH key too, as it’s used to access your backups.
Veja também
Armazenamento de backup provisionado do Weblate
The easiest way of backing up your Weblate instance is purchasing the backup service at weblate.org. This is how you get it running:
Purchase the Backup service on https://weblate.org/support/#backup.
Enter the obtained key in the management interface, see Integrando o apoio.
Weblate connects to the cloud service and obtains access info for the backups.
Turn on the new backup configuration from the Backups tab.
Backup your Borg credentials to be able to restore the backups, see Chave de criptografia do Borg.
Dica
The manual step of turning everything on is there for your safety. Without your consent no data is sent to the backup repository obtained through the registration process.
Usar armazenamento de backup personalizado
You can also use your own storage for the backups. SSH can be used to store backups in the remote destination, the target server needs to have BorgBackup installed.
Veja também
General na documentação do Borg
Sistema de ficheiros local
It is recommended to specify the absolute path for the local backup, for example /path/to/backup. The directory has to be writable by the user running Weblate (see Permissões do sistema de ficheiros). If it doesn’t exist, Weblate attempts to create it but needs the appropriate permissions to do so.
Dica
When running Weblate in Docker, please ensure the backup location is exposed as a volume from the Weblate container. Otherwise the backups will be discarded by Docker upon restarting the container it is in.
One option is to place backups into an existing volume, for example
/app/data/borgbackup. This is an existing volume in the container.
You can also add a new container for the backups in the Docker Compose file
for example by using /borgbackup:
services:
  weblate:
    volumes:
      - /home/weblate/data:/app/data
      - /home/weblate/borgbackup:/borgbackup
The directory where backups will be stored have to be owned by UID 1000, otherwise Weblate won’t be able to write the backups there.
Backups remotos
In order to create the remote backups, you will have to install BorgBackup onto another server that’s accessible via SSH. Make sure that it accepts the Weblate’s client SSH key, i.e. the one it uses to connect to other servers.
Dica
Armazenamento de backup provisionado do Weblate fornece backups remotos automatizados.
Veja também
Restaurar do BorgBackup
Restaurar o acesso ao repositório de backup e preparar a sua palavra-passe de backup.
List all the backups on the server using
borg list REPOSITORY.Restore the desired backup to the current directory using
borg extract REPOSITORY::ARCHIVE.Restaure o banco de dados do despejo de SQL posto no diretório
backupno diretório de dados do Weblate (veja :ref:”backup-dumps”).Copy the Weblate configuration (
backups/settings.py, see Dados despejados para backups) to the correct location, see Ajustar a configuração.Copy the whole restored data dir to the location configured by
DATA_DIR.
The Borg session might look like this:
$ borg list /tmp/xxx
Enter passphrase for key /tmp/xxx:
2019-09-26T14:56:08                  Thu, 2019-09-26 14:56:08 [de0e0f13643635d5090e9896bdaceb92a023050749ad3f3350e788f1a65576a5]
$ borg extract /tmp/xxx::2019-09-26T14:56:08
Enter passphrase for key /tmp/xxx:
Veja também
Backup manual
Depending on what you want to save, back up the type of data Weblate stores in each respective place.
Dica
If you are doing the manual backups, you might want to
silence Weblate’s warning about a lack of backups by adding weblate.I028 to
SILENCED_SYSTEM_CHECKS in settings.py or
WEBLATE_SILENCED_SYSTEM_CHECKS for Docker.
SILENCED_SYSTEM_CHECKS.append("weblate.I028")
Banco de dados
O local de armazenamento real depende da configuração do seu banco de dados.
Dica
The database is the most important storage. Set up regular backups of your database. Without the database, all the translations are gone.
Backup nativo do banco de dados
The recommended approach is to save a dump of the database using database-native tools such as pg_dump or mysqldump. It usually performs better than Django backup, and it restores complete tables with all their data.
You can restore this backup in a newer Weblate release, it will perform all the
necessary migrations when running in migrate. Please consult
Upgrading Weblate on more detailed info on how to upgrade between versions.
Backup do banco de dados do Django
Alternatively, you can back up your database using Django’s dumpdata
command. That way the backup is database agnostic and can be used in case you
want to change the database backend.
Prior to restoring the database you need to be running exactly the same Weblate
version the backup was made on. This is necessary as the database structure does
change between releases and you would end up corrupting the data in some way.
After installing the same version, run all database migrations using
migrate.
Afterwards some entries will already be created in the database and you will have them in the database backup as well. The recommended approach is to delete such entries manually using the management shell (see Invoking management commands):
weblate shell
>>> from weblate.auth.models import User
>>> User.objects.get(username='anonymous').delete()
Ficheiros
If you have enough backup space, simply back up the whole DATA_DIR. This
is a safe bet even if it includes some files you don’t want.
The following sections describe what you should back up and what you
can skip in detail.
Dados despejados para backups
Armazenados em DATA_DIR /backups.
O Weblate despeja vários dados aqui e pode incluir esses ficheiros para backups mais completos. Os ficheiros são atualizados diariamente (requer um servidor de «beats» do Celery em execução, consulte Tarefas de fundo a usar o Celery). Atualmente, isto inclui:
Configurações do Weblate como
settings.py(existe também a versão expandida emsettings-expanded.py).Backup de banco de dados PostgreSQL como
database.sql.
The database backups are saved as plain text by default, but they can also be compressed
or entirely skipped using DATABASE_BACKUP.
Repositórios de controle de versão
Armazenados em DATA_DIR /vcs.
The version control repositories contain a copy of your upstream repositories with Weblate changes. If you have Push on commit enabled for all your translation components, all Weblate changes are included upstream. No need to back up the repositories on the Weblate side as they can be cloned again from the upstream location(s) with no data loss.
Chaves SSH e GPG
Armazenados em DATA_DIR /ssh e DATA_DIR /home.
If you are using SSH or GPG keys generated by Weblate, you should back up these locations. Otherwise you will lose the private keys and you will have to regenerate new ones.
Ficheiros enviados pelo utilizador
Armazenados em DATA_DIR /media.
You should back up all user uploaded files (e.g. Visual context for strings).
Tarefas do Celery
The Celery task queue might contain some info, but is usually not needed for a backup. At most you will lose updates not yet been processed to translation memory. It is recommended to perform the fulltext or repository update upon restoration anyhow, so there is no problem in losing these.
Veja também
Linha de comando para backup manual
Using a cron job, you can set up a Bash command to be executed on a daily basis, for example:
$ XZ_OPT="-9" tar -Jcf ~/backup/weblate-backup-$(date -u +%Y-%m-%d_%H%M%S).xz backups vcs ssh home media fonts secret
The string between the quotes after XZ_OPT allows you to choose your xz options, for instance the amount of memory used for compression; see https://linux.die.net/man/1/xz
You can adjust the list of folders and files to your needs. To avoid saving the translation memory (in backups folder), you can use:
$ XZ_OPT="-9" tar -Jcf ~/backup/weblate-backup-$(date -u +%Y-%m-%d_%H%M%S).xz backups/database.sql backups/settings.py vcs ssh home media fonts secret
Restaurar backup manual
Restaure todos os dados dos quais tenha feito backup.
Atualize todos repositórios a usar o
updategit.weblate updategit --all
Mover uma instalação do Weblate
Relocate your installation to a different system by following the backing up and restoration instructions above.