Code für Weblate beisteuern
Verstehen Sie den Quellcode von Weblate, indem Sie Weblate-Quellcode, Weblate-Frontend und Weblate-Interna durchgehen.
Mit der Codebasis beginnen
Familiarize yourself with the Weblate codebase, by having a go at the bugs labelled good first issue.
You are welcome to start working on these issues without asking. Just announce that in the issue, so that it’s clear that somebody is working on that issue.
Running Weblate locally
The most comfortable approach to get started with Weblate development is to follow Installieren aus Quellen. It will get you a virtualenv with editable Weblate sources.
Klonen des Weblate-Quellcodes:
git clone https://github.com/WeblateOrg/weblate.git
cd weblate
Erstellen Sie eine virtualenv:
virtualenv .venv
.venv/bin/activate
Install Weblate (for this you need some system dependencies, see Installieren aus Quellen):
pip install -e .
Install all dependencies useful for development:
pip install -r requirements-dev.txt
Start a development server:
weblate runserverDepending on your configuration, you might also want to start Celery workers:
./weblate/examples/celery startTo run a test (see Local testing for more details):
. scripts/test-database.sh
./manage.py test
Siehe auch
Running Weblate locally in Docker
If you have Docker and docker-compose installed, you can spin up the development environment by simply running:
./rundev.sh
It will create a development Docker image and start it. Weblate is running on
<http://127.0.0.1:8080/> and you can sign in as the user admin using admin
as the password. The new installation is empty, so you might want to continue with
Adding translation projects and components.
The Dockerfile and docker-compose.yml for this are located in the
dev-docker directory.
Das Skript akzeptiert auch einige Parameter, um Tests auszuführen, führen Sie es mit dem Parameter test aus und geben Sie dann alle test-Parameter an, um zum Beispiel nur Tests im Modul weblate.machine auszuführen:
./rundev.sh test --failfast weblate.machine
Bemerkung
Be careful that your Docker containers are up and running before running the
tests. You can check that by running the docker ps command.
To display the logs:
./rundev.sh logs
To stop the background containers, run:
./rundev.sh stop
Wenn Sie das Skript ohne Argumente ausführen, wird der Docker-Container neu erstellt und neu gestartet.
Bemerkung
This is not a suitable setup for production, as it includes several hacks which are insecure, but they make development easier.
Bootstrapping your devel instance
You might want to use import_demo to create demo translations and
createadmin to make an admin user.
Coding Weblate with PyCharm
PyCharm is a known IDE for Python, here are some guidelines to help you set up your Weblate project in it.
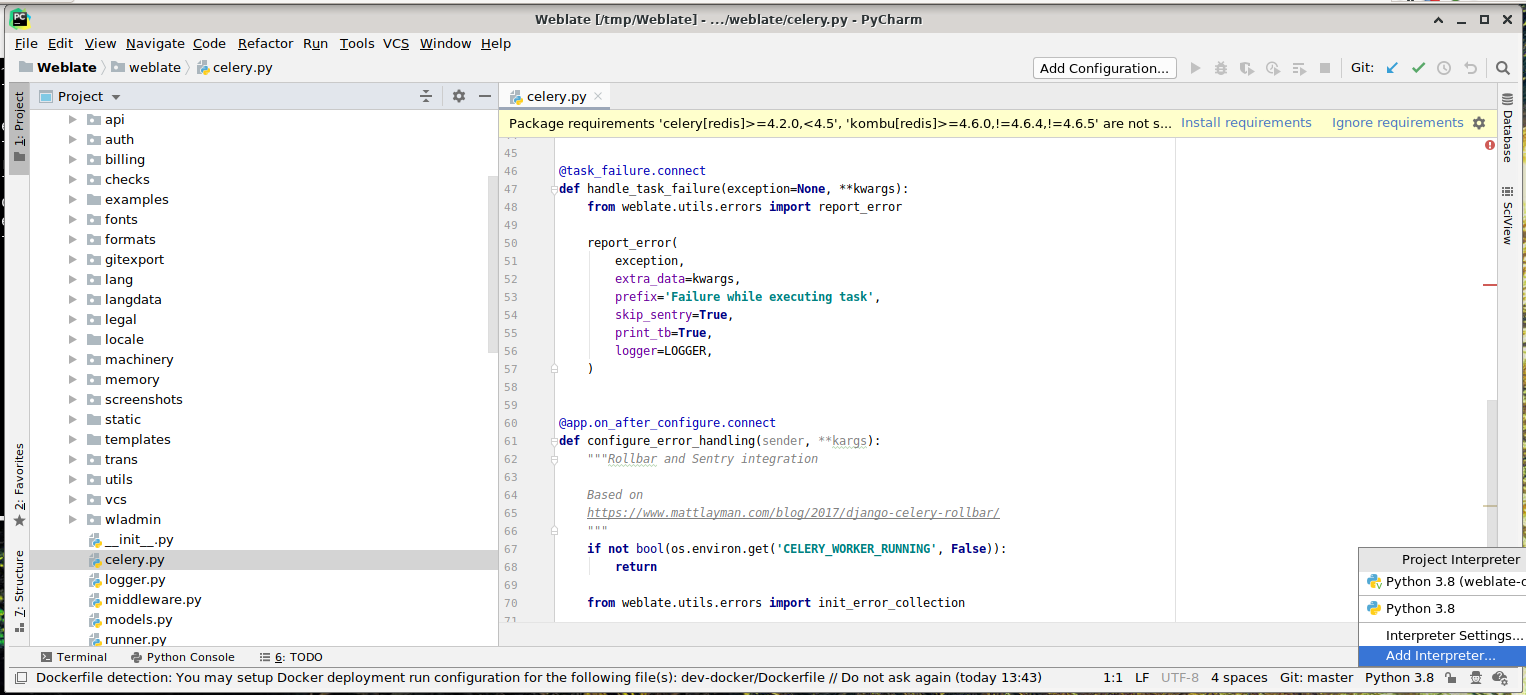
Considering you have just cloned the GitHub repository to a folder, just open it with PyCharm. Once the IDE is open, the first step is to specify the interpreter you want to use:
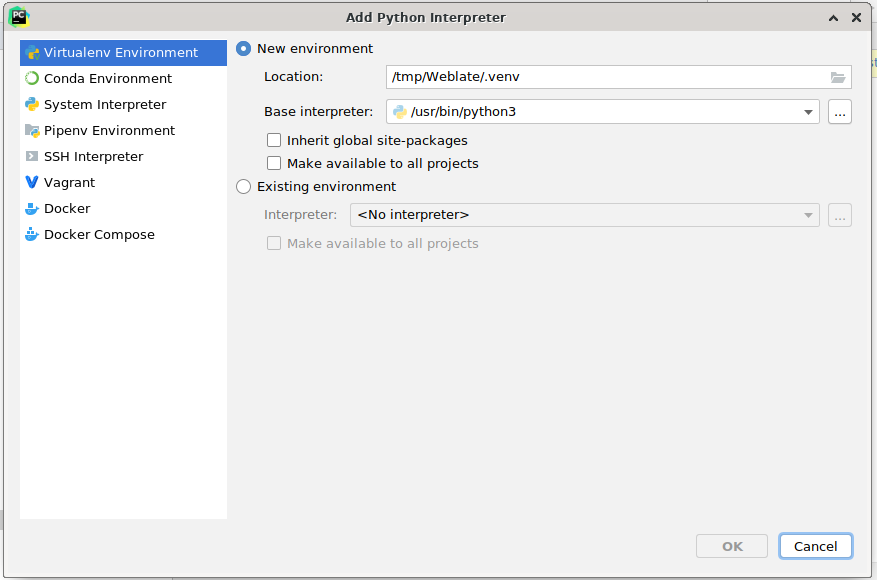
You can either choose to let PyCharm create the virtualenv for you, or select an already existing one:
Vergessen Sie nicht, die Abhängigkeiten zu installieren, sobald der Interpreter eingestellt ist: Entweder über die Konsole (die Konsole der IDE verwendet standardmäßig direkt Ihre virtualenv), oder über die Benutzeroberfläche, wenn Sie eine Warnung über fehlende Abhängigkeiten erhalten.
The second step is to set the right info to use Django natively inside PyCharm: The idea is to be able to immediately trigger the unit tests in the IDE. For that you need to specify the root path of the Django project and the path to its settings:
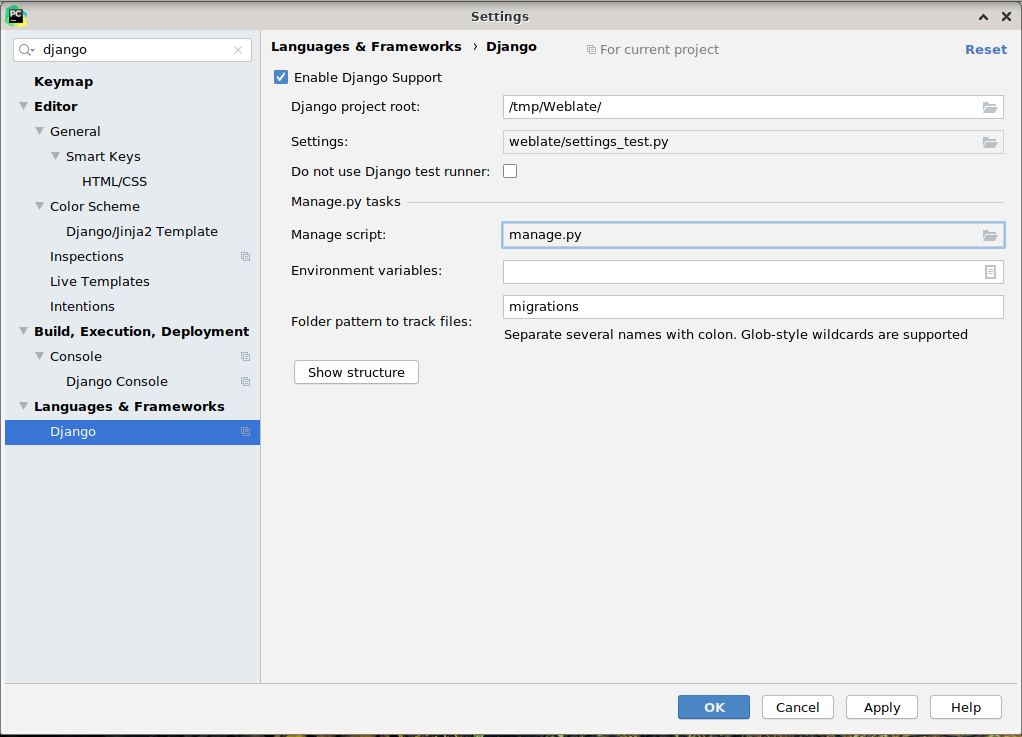
Be careful, the Django project root is the actual root of the repository, not the Weblate
sub-directory. About the settings, you could use the weblate/settings_test.py from the
repository, but you could create your own setting and set it there.
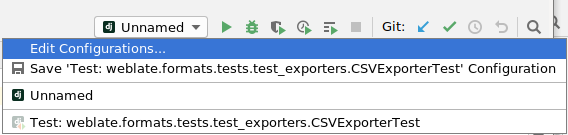
The last step is to run the server and to put breakpoints in the code to be able to debug it. This is done by creating a new Django Server configuration:
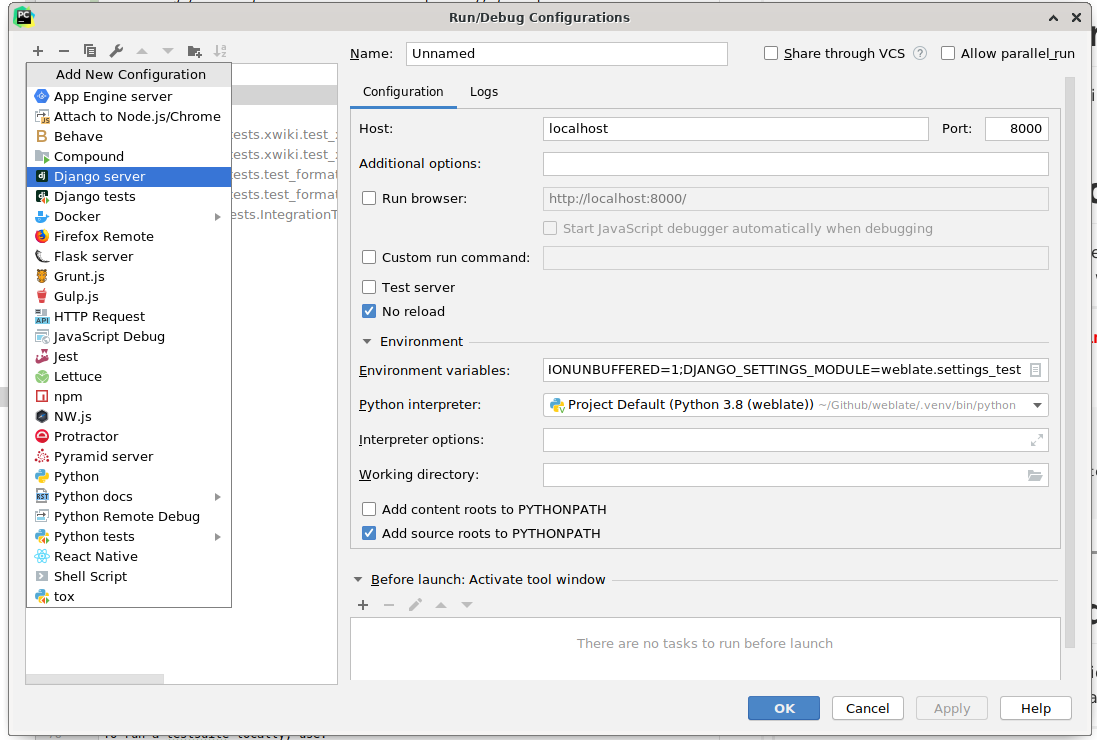
Hinweis
Seien Sie vorsichtig mit der Eigenschaft namens No reload: Sie verhindert, dass der Server live neu geladen wird, wenn Sie Dateien ändern. Dadurch bleiben die vorhandenen Debugger-Haltepunkte erhalten, obwohl sie normalerweise beim Neuladen des Servers verworfen würden.