オプションの Weblate モジュール
Weblate を構成するために、オプションのモジュールを複数用意しています。
Git エクスポーター
HTTP(S) 接続による、基になる Git リポジトリへの読み取り専用アクセスを提供します。
インストール
settings.pyファイル内の、インストールするアプリにweblate.gitexportを追加する:INSTALLED_APPS += ("weblate.gitexport",)
インストール後にデータベースを移行して、既存のリポジトリをエクスポートする:
weblate migrate
ヒント
公式 Docker イメージでは Git エクスポーターが有効になっています。無効にするには、次のコマンドを使用:
WEBLATE_REMOVE_APPS=weblate.gitexport
使用方法
モジュールは自動的に Weblate にフックされ、エクスポートしたリポジトリの URL を コンポーネント構成 に設定します。リポジトリには、Weblate の URL の /git/ 以降、例えば https://example.org/git/weblate/main/ からアクセスします。
公開しているプロジェクトのリポジトリを認証せずに複製する方法:
git clone 'https://example.org/git/weblate/main/'
アクセスが制限されたリポジトリ(access control を プライベート に設定、もしくは REQUIRE_LOGIN を有効化している場合)を参照するには、user profile から取得できる API トークンが必要です。例:
git clone 'https://user:KEY@example.org/git/weblate/main/'
注釈
Weblate serves the Git repository itself, but it does not serve Git LFS
objects. For repositories using Git LFS, clone from the upstream repository
and add Weblate as another remote. If you only need Git-tracked files, you
can clone from Weblate with GIT_LFS_SKIP_SMUDGE=1 to skip downloading
Git LFS objects.
ヒント
デフォルトでは、メンバーまたは ユーザー グループおよび匿名ユーザーは、リポジトリへのアクセス および パワー ユーザー のロールを使用して、公開プロジェクトのリポジトリにアクセスします。
課金
これは Hosted Weblate を使用する料金プランを設定し、請求書と使用制限を管理するために使用します。
インストール
1. Add weblate.billing to installed apps in
settings.py:
INSTALLED_APPS += ("weblate.billing",)
データベースの移行を実行し、オプションである追加のデータベース構造のモジュールをインストールする:
weblate migrate
料金プランの作成と割り当て
請求を開始するには、まず料金プランを作成が必要です。画面左上のレンチアイコンから 管理 セクションを開き、ツール メニューを選択してください。そして、Django 管理画面 に進んでください。
Django 管理画面で、請求 セクションを見つけて、料金プランを追加してください。例えば、コストがかからない 無料 プランを追加することができます。
既存のプロジェクトに料金プランを割り当てる場合は、Django 管理画面 内で 顧客課金 オプションを使用して行うこともできます。
最後に、Django 管理インターフェース には、顧客の支払いを記録するための 請求 オプションが用意されています。
使用方法
インストールすると、管理画面から請求書を管理できます。請求が有効になったユーザーは、自分の ユーザー情報 の中に、新しい 請求書 タブが表示されます。
課金モジュールを使用すると、プロジェクト管理者はスーパーユーザーでなくても新しいプロジェクトやコンポーネントを作成できます(参照: 翻訳プロジェクトとコンポーネントの追加)。作成するために必要な条件:
課金で設定された制限を超えていない(使用限度を超えると、プロジェクトおよびコンポーネントの作成がブロックされる)および支払済みである(料金が有料である場合)
ユーザーは、有料の既存のプロジェクトの管理者である、または請求のアクセス権がある場合(後者は、新しいプロジェクトをインポートするために、新しい請求書を作成する場合に必要です)。
プロジェクト作成時に、ユーザーが他の請求書にアクセスできる場合には、プロジェクトへ請求する請求書を選択できます。
法務モジュール
これは、Hosted Weblate で使用する法的文書を提供します。ドキュメントは空なので、次のテンプレートを記入することが必要です。
legal/documents/tos.html利用規約文書
legal/documents/privacy.htmlプライバシー ポリシー文書
legal/documents/summary.html利用規約とプライバシー ポリシーの概要
利用規約文書を変更する場合は、LEGAL_TOS_DATE を調整して、ユーザーが更新された文書に同意するように強制してください。
注釈
Legal documents for the Hosted Weblate service operated by Weblate s.r.o. are available in this Git repository: <https://github.com/WeblateOrg/wllegal/tree/main/wllegal/templates/legal/documents>.
The bundled terms of service and related legal documents are specific to that service and are not intended for general use. They might still come in handy as a starting point if adjusted to meet your needs.
インストール
1. Add weblate.legal to installed apps in
settings.py:
INSTALLED_APPS += ("weblate.legal",)

# Optional:

# Social auth pipeline to confirm TOS upon registration/subsequent sign in
SOCIAL_AUTH_PIPELINE += ("weblate.legal.pipeline.tos_confirm",)

# Middleware to enforce TOS confirmation of signed in users
MIDDLEWARE += [
    "weblate.legal.middleware.RequireTOSMiddleware",
]
データベースの移行を実行し、オプションである追加のデータベース構造のモジュールをインストールする:
weblate migrate
weblate/legal/templates/legal/フォルダーにある法的文書を、サービスに合わせて編集する。
ヒント
In Docker deployments, enable the legal module using
WEBLATE_LEGAL_INTEGRATION instead of editing
settings.py. Use tos-confirm to enable the legal module and
terms of service confirmation enforcement, or wllegal to additionally
load the hosted legal document templates used by services operated by
Weblate s.r.o. These templates are not intended for general use. To provide
your own templates in Docker, place them in
/app/data/python/customize/templates/legal/documents, see
ロゴおよびその他の静的ファイルの変更.
使用方法
インストールと編集をすると、法的文書が Weblate UI に表示されます。
アバター
アバターはダウンロードして、サーバー側でキャッシュされるので、デフォルトではアバターを提供しているサイトへの情報漏洩を減らせます。設定したメールアドレスからアバターを取得する機能は、ENABLE_AVATARS を使用して無効化します。
現在 Weblate が対応しているアバター:
CDN の現地化
The JavaScript 現地語化 CDN and Translation files CDN add-ons
write files to LOCALIZE_CDN_PATH; Weblate does not serve them.
Configure the web server or CDN serving LOCALIZE_CDN_URL as a
public, read-only static file host.
Treat every published CDN file as public. The add-on specific UUID in the URL is not an access-control mechanism. Do not enable CDN add-ons for components that contain private strings, unreleased product text, customer data, internal URLs, API examples, repository paths, translator comments, or file-format metadata that should not be exposed.
The Translation files CDN add-on publishes raw translation files in formats supported by Weblate. Some formats can be interpreted by browsers or other clients as HTML, SVG, XML, JavaScript, YAML, or application-specific configuration. Serve the CDN from a dedicated domain that is separate from Weblate and from the application consuming the translations. Do not share authentication cookies with the CDN domain.
Recommended server configuration:
Serve only the directory configured by
LOCALIZE_CDN_PATH; do not expose Weblate repositories, backups, media, configuration, or the whole data directory.Disable directory listing.
Use HTTPS and make the CDN host read-only from the web server.
Send X-Content-Type-Options with
nosniff.Configure conservative MIME types. Serve unknown translation formats as text/plain or application/octet-stream; only serve
weblate.jsas JavaScript.For raw translation formats that are not intended to be rendered in a browser, consider adding Content-Disposition with
attachment.Configure
Access-Control-Allow-Originonly for sites that need browser access to the files.Set cache lifetimes that match your update expectations, and purge CDN caches when stale translations must disappear quickly.
The following nginx snippet serves only the configured CDN directory and applies conservative defaults for raw translation files:
#
# nginx configuration for the Weblate localization CDN
#
# You will want to change:
#
# - server_name to match the host configured in LOCALIZE_CDN_URL
# - root to match LOCALIZE_CDN_PATH
# - Access-Control-Allow-Origin to the sites that need browser access
# - TLS configuration if HTTPS is not terminated before nginx
#
server {
    listen 80;
    server_name cdn.example.com;

    # LOCALIZE_CDN_PATH
    root /home/weblate/data/l10n-cdn;

    autoindex off;
    disable_symlinks on;

    location = / {
        return 404;
    }

    # The JavaScript localization add-on publishes this loader.
    location ~ "^/[0-9a-f]{32}/weblate\.js$" {
        try_files $uri =404;

        types {
            application/javascript js;
        }
        default_type application/javascript;

        add_header X-Content-Type-Options nosniff always;
        # add_header Access-Control-Allow-Origin "https://www.example.com" always;

        expires 1h;
    }

    # Other CDN files are translation files. Serve them conservatively so raw
    # formats are not interpreted as active browser content.
    location / {
        try_files $uri =404;

        types {
        }
        default_type text/plain;

        add_header X-Content-Type-Options nosniff always;
        add_header Content-Disposition "attachment" always;
        # add_header Access-Control-Allow-Origin "https://www.example.com" always;

        expires 1h;
    }
}
GnuPG を使用した Git コミットの署名
すべてのコミットを、Weblate インスタンスの GnuPG 鍵を使用して署名します。
WEBLATE_GPG_IDENTITYを有効化する。(Weblate は必要に応じて GnuPG 鍵を生成し、その鍵を使用してすべての翻訳コミットに署名する。)この機能には、GnuPG 2.1 以降がインストールされていることが必要です。
鍵は
DATA_DIRにあり、公開鍵は「Weblate について」 のページに表示されます。表示例: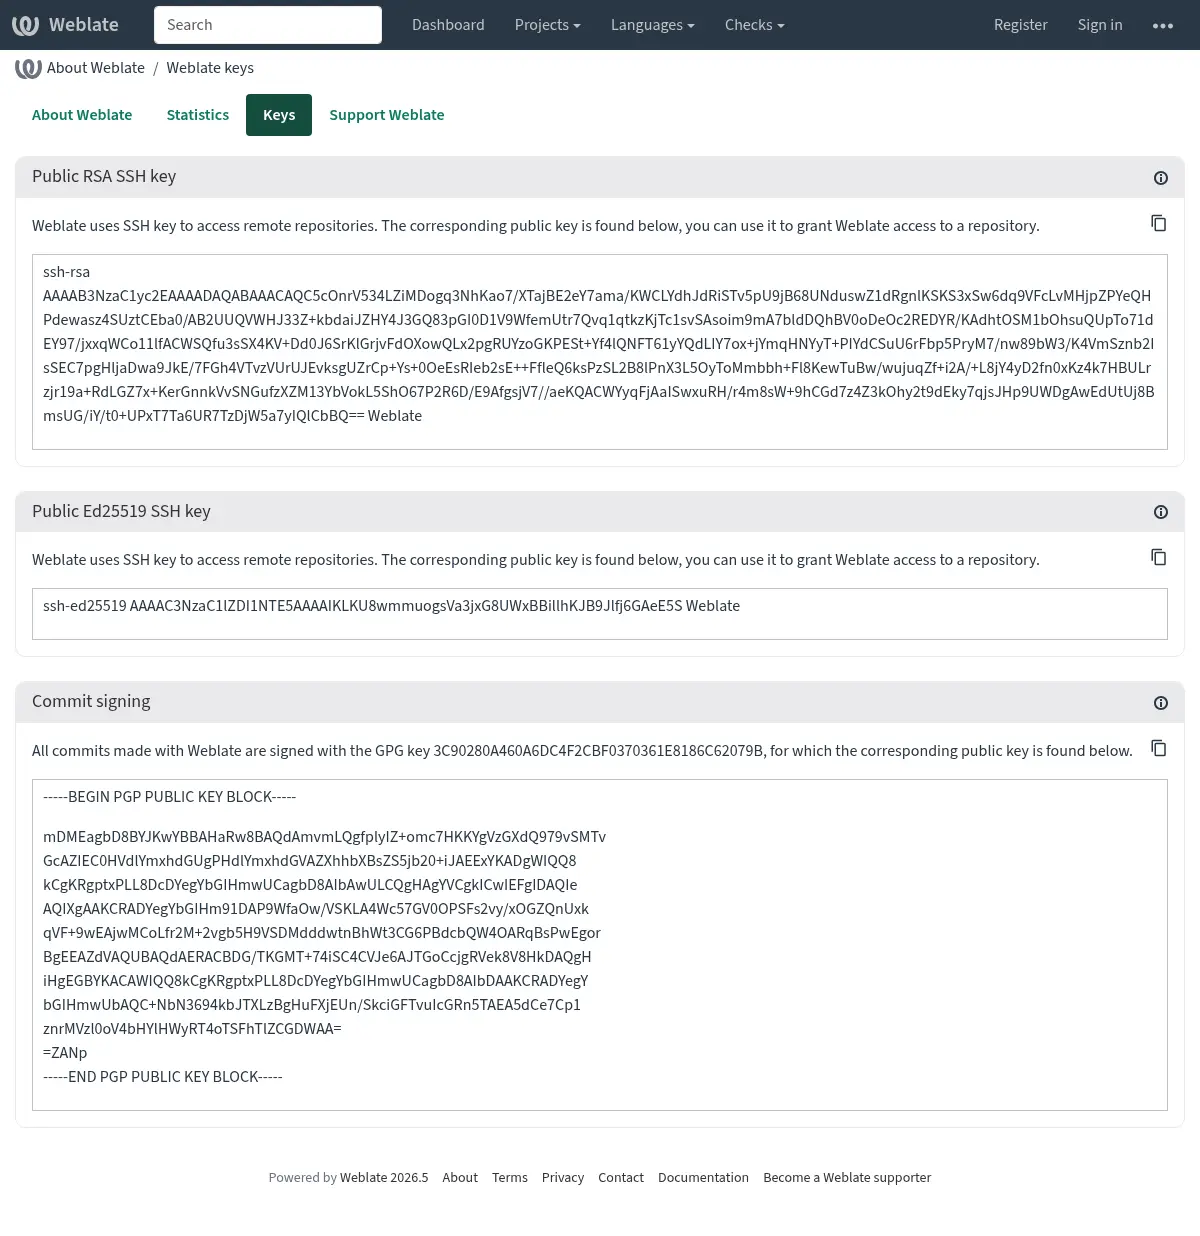
もしくは、既存の鍵を Weblate にインポートする。gpg の使用時に
HOME=$DATA_DIR/homeを設定するのみ。
ヒント
キーマテリアルは、Weblate により長期間キャッシュされます。WEBLATE_GPG_IDENTITY を使用して Weblate に鍵を生成させ、同じ ID で鍵をインポートして既存の鍵を使用する場合、この変更の効果を確認するためには、Redis のキャッシュのクリアをしてください。
注釈
複数のホスト間で DATA_DIR を共有する場合、GnuPG 署名が確実に動作するように、https://wiki.gnupg.org/NFS の指示に従ってください。
接続制限
バージョン 4.6 で変更: 接続制限は、サインインしているスーパーユーザーには適用されなくなりました。
Weblate のいくつかの操作は接続回数が制限されています。 RATELIMIT_WINDOW 秒以内で最大 RATELIMIT_ATTEMPTS 回の試行が許可されています。その後、ユーザーは RATELIMIT_LOCKOUT 秒間遮断されます。 RATELIMIT_CONTACT_ATTEMPTS や RATELIMIT_TRANSLATE_ATTEMPTS などの、スコープを限定した設定もあります。次の表は、すべての使用可能なスコープの一覧です。
接続制限が対象の操作:
名前 |
対象範囲 |
試行回数限度 |
試行可能秒数 |
接続遮断秒数 |
|---|---|---|---|---|
登録 |
|
5 |
300 |
600 |
管理者へメッセージの送信 |
|
2 |
300 |
600 |
サインイン時のパスワード認証 |
|
5 |
300 |
600 |
二要素認証 |
|
5 |
300 |
600 |
サイト全体の検索 |
|
6 |
60 |
60 |
翻訳 |
|
30 |
60 |
600 |
用語集に用語を追加 |
|
30 |
60 |
600 |
新しい言語での翻訳の開始 |
|
2 |
300 |
600 |
新しいプロジェクトの作成 |
|
5 |
600 |
600 |
レート制限は、ユーザーがサインインしている場合はセッションに、そうでない場合は IP アドレスに基づいています。
ユーザーがサインインを AUTH_LOCK_ATTEMPTS 回失敗すると、パスワードのリセット処理が完了するまで、アカウントのパスワード認証が無効になります。
Docker コンテナでは、設定名の接頭辞に WEBLATE_ を追加して設定します。たとえば、RATELIMIT_ATTEMPTS は、WEBLATE_RATELIMIT_ATTEMPTS とします。
API には、個別の接続制限があります。参照: API 接続制限。