Code für Weblate beisteuern
Verstehen Sie den Quellcode von Weblate, indem Sie Weblate-Quellcode, Weblate-Frontend und Weblate-Interna durchgehen.
Mit der Codebasis beginnen
Machen Sie sich mit der Codebasis von Weblate vertraut, indem Sie die mit good first issue gekennzeichneten Fehler ausprobieren.
Sie können gerne mit der Arbeit an diesen Themen beginnen, ohne zu fragen. Kündigen Sie dies einfach im Issue an, damit klar ist, dass jemand an diesem Problem arbeitet.
Weblate lokal ausführen
Der einfachste Weg, um mit der Weblate-Entwicklung zu beginnen, ist Installation aus Quellen zu folgen. Dadurch erhalten Sie eine Python-Einsatzumgebung mit bearbeitbarem Weblate-Quellcode.
Klonen des Weblate-Quellcodes:
git clone https://github.com/WeblateOrg/weblate.git
cd weblate
Weblate und alle für die Entwicklung nützlichen Abhängigkeiten installieren:
uv sync --all-extras --dev
Einen Entwicklungsserver starten:
uv run weblate runserver
Je nach Konfiguration möchten Sie vielleicht auch Celery-Worker starten:
uv run ./weblate/examples/celery start
Um Tests durchzuführen (siehe Weblate lokal testen für weitere Details):
. scripts/test-database.sh
uv run pytest
Siehe auch
Weblate lokal in Docker ausführen
Wenn Sie Docker und das docker-compose-plugin installiert haben, wird ein zusätzliches Tool namens jq benötigt, das Sie über Ihren bevorzugten Paketmanager installieren können. Anschließend kann die Entwicklungsumgebung durch einfaches Ausführen gestarte werden:
./rundev.sh
Es wird ein Entwicklungs-Docker-Image erstellt und gestartet. Weblate läuft auf <http://127.0.0.1:8080/> und Sie können sich als Benutzer admin mit admin als Passwort anmelden. Die neue Installation ist leer, daher sollten Sie mit Übersetzungsprojekte und Komponenten hinzufügen fortfahren.
Weblate ist so konfiguriert, dass der maildev-Container als E-Mail-Server verwendet wird. Die zugestellten E-Mails können unter <http://127.0.0.1:1080/> eingesehen werden.
Das Dockerfile und docker-compose.yml hierfür befinden sich im Verzeichnis dev-docker. Um den Zugriff auf die Datenbank während der Entwicklung zu vereinfachen, wird der Container, in dem PostgreSQL läuft, auf Port 5433 bereitgestellt.
Das Skript akzeptiert auch einige Parameter, um Tests auszuführen, führen Sie es mit dem Parameter test aus und geben Sie dann alle test-Parameter an, um zum Beispiel nur Tests im Modul weblate.machine auszuführen:
./rundev.sh test --exitfirst weblate/machine
Bemerkung
Achten Sie darauf, dass Ihre Docker-Container in Betrieb sind, bevor Sie die Tests ausführen. Sie können dies überprüfen, indem Sie den Befehl docker ps ausführen.
Um die Protokolle anzuzeigen:
./rundev.sh logs
Um die Hintergrund-Container zu stoppen, führen Sie dies aus:
./rundev.sh stop
Wenn Sie das Skript ohne Argumente ausführen, wird der Docker-Container neu erstellt und neu gestartet.
Warnung
Dieser Container ist nicht für den Produktionseinsatz geeignet. Die Sicherheit wird geopfert, um die Entwicklung zu erleichtern.
Bootstrapping der Entwicklungsinstanz
Sie können import_demo verwenden, um Demo-Übersetzungen zu erstellen und createadmin, um einen Admin-Benutzer anzulegen.
Wenn Sie auch Abrechnung installiert haben, können Sie mit billing_demo ein Demoprojekt für die Abrechnung erstellen.
Weblate mit PyCharm programmieren
PyCharm ist eine bekannte Entwicklungsumgebung für Python. Hier sind einige Richtlinien, die Ihnen helfen, Ihr Weblate-Projekt in dieser IDE einzurichten.
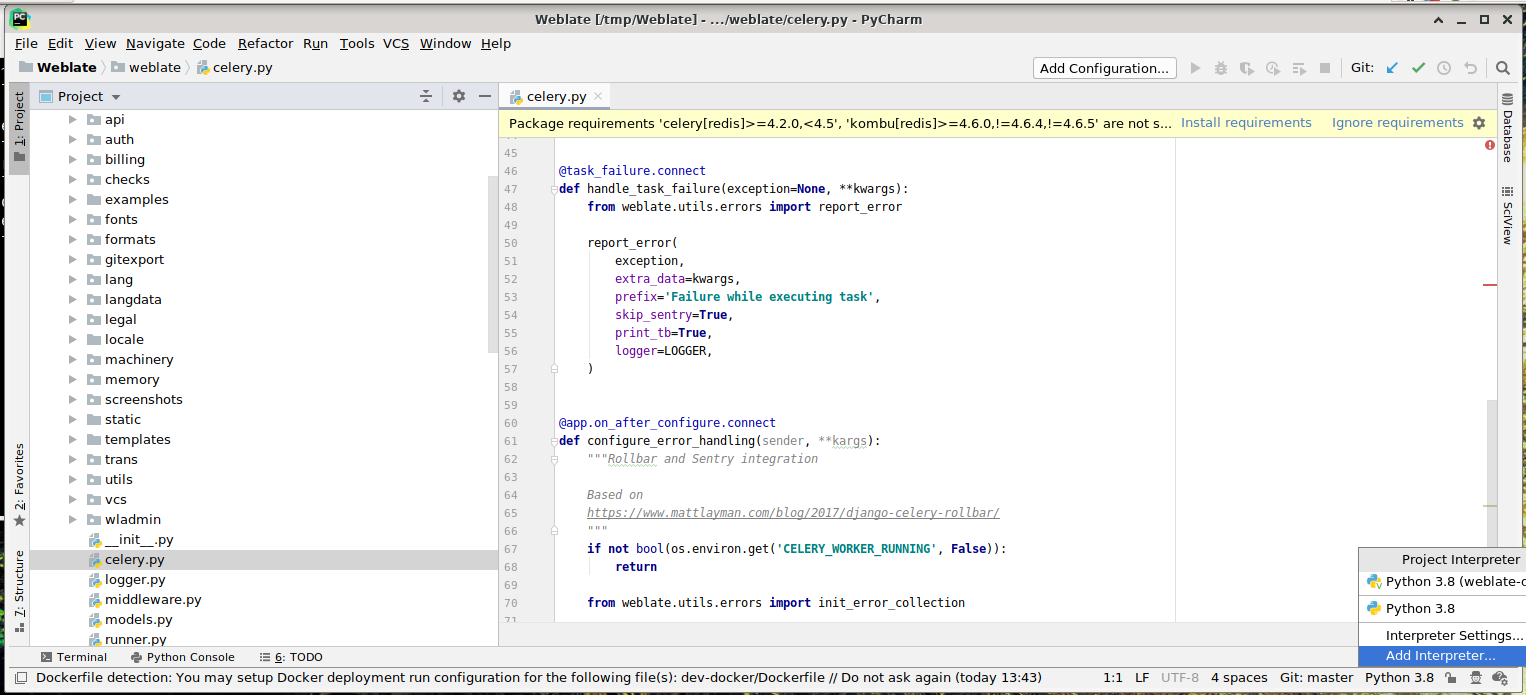
Da Sie das GitHub-Repository gerade in einen Ordner geklont haben, öffnen Sie es einfach mit PyCharm. Sobald die IDE geöffnet ist, besteht der erste Schritt darin, den Interpreter anzugeben, den Sie verwenden möchten:
Select the .venv environment created by uv sync --all-extras --dev
to match the command-line development setup. You can also let PyCharm create a
Python environment for you, but the uv-managed environment is preferred:
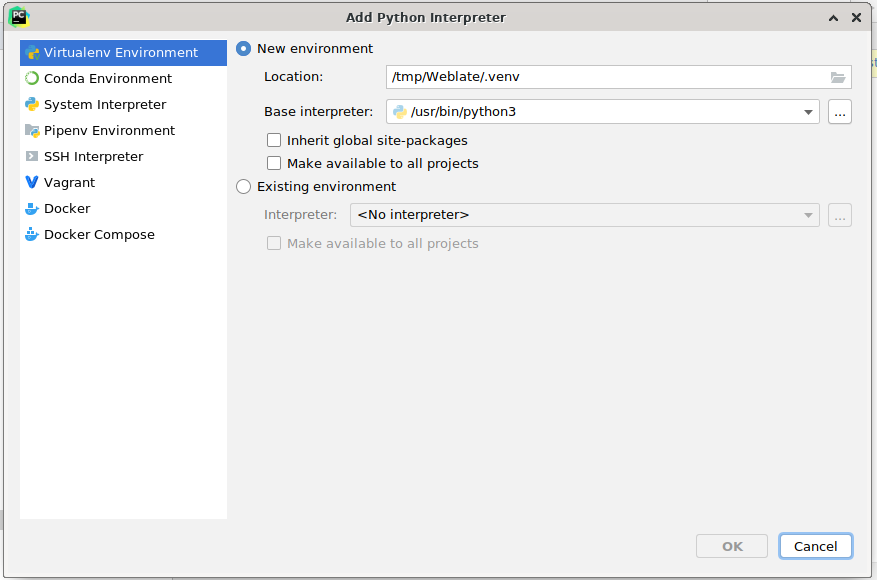
Don’t forget to install the dependencies once the interpreter is set. When
using the preferred uv-managed environment, run uv sync --all-extras --dev
from the console.
Der zweite Schritt besteht darin, die richtigen Informationen zu setzen, um Django nativ in PyCharm zu verwenden: Die Idee ist, die Einheitentests sofort in der IDE auslösen zu können. Dazu müssen Sie den Wurzelpfad des Django-Projekts und den Pfad zu den Einstellungen angeben:
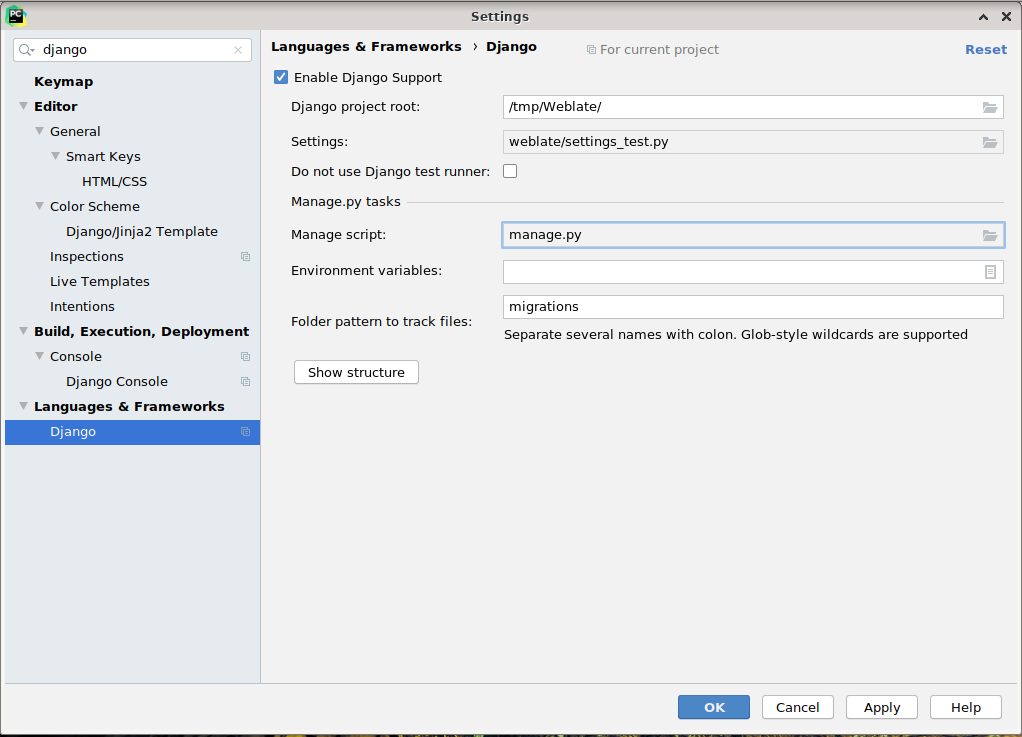
Seien Sie vorsichtig, das Django project root ist das eigentliche Wurzelverzeichnis des Repositorys, nicht das Unterverzeichnis von Weblate. Für die Einstellungen können Sie die weblate/settings_test.py aus dem Repository verwenden, aber Sie können auch Ihre eigene Einstellung erstellen und sie dort festlegen.
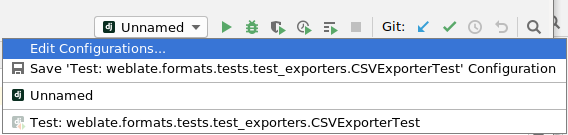
Der letzte Schritt besteht darin, den Server zu starten und Haltepunkte in den Code zu setzen, um ihn zu debuggen. Dies geschieht durch das Erstellen einer neuen Django Server-Konfiguration:
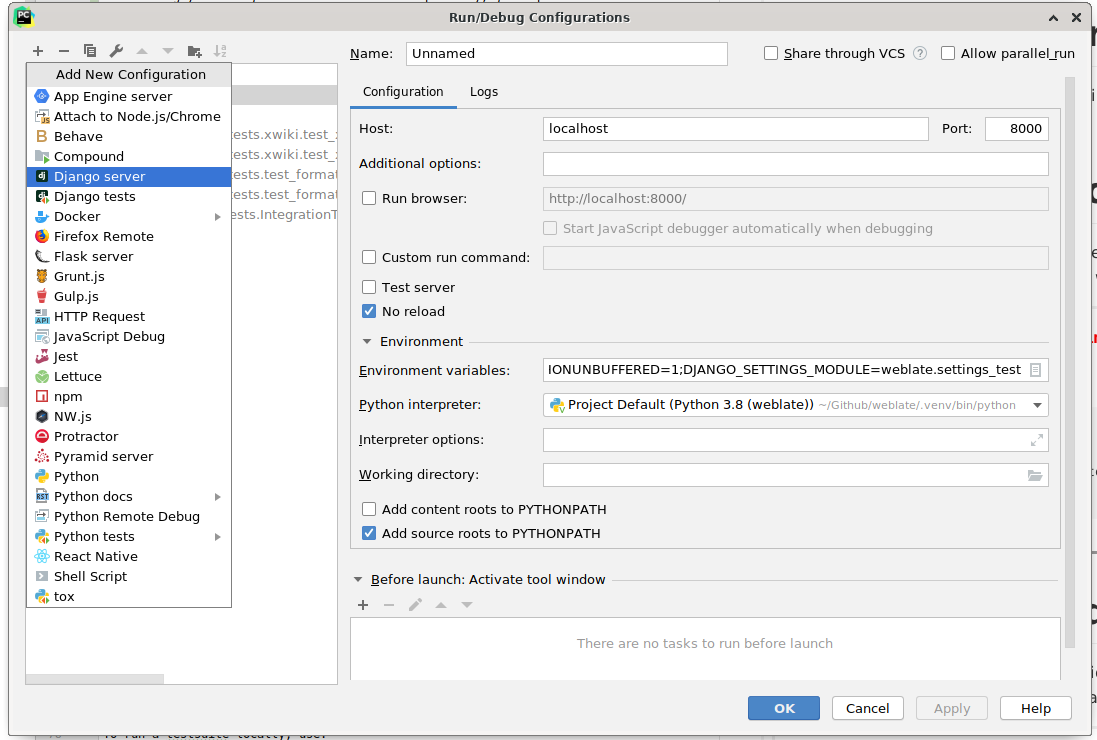
Hinweis
Seien Sie vorsichtig mit der Eigenschaft namens No reload: Sie verhindert, dass der Server live neu geladen wird, wenn Sie Dateien ändern. Dadurch bleiben die vorhandenen Debugger-Haltepunkte erhalten, obwohl sie normalerweise beim Neuladen des Servers verworfen würden.